If you create an access (door) from the side on the lower side of the slope, you may also be able to trench for a floor drain to daylight out as well. You can set the door header at the ceiling height of cellar, then add remaining steps inside the cellar down to finish surface (you’ll just need to insulate the door). Note that if you do add a floor drain this should be separate from any drainage system around the cellar so you don’t move any stormwater into the cellar. But in case you have any water intrusion at all, you won’t need to worry about pumping it out. Also when soils become saturated water will be flowing below grade downhill so diverting water around the cellar will be critical to avoid failure on the upslope side retaining wall.
PS. You might want to consider a contingency too if the cellar doesn’t get to the ideal temp during summer. If you have 8-10’ clear on side on the lower slope side, you can allow room for a wall unit (perhaps even above the door) to assist in the targeted temps.
Brian has the skills to do this–it would not be a DIY project for anyone else I know, but there’s nothing here he has not done before. I do agree that poured concrete is a much better solution. We added a partial basement when renovating our house (BT knows, this is for the others) and had a spot where we could not remove our form boards; our structural engineer had a solution that might help here, although probably not necessary, which was to use marine grade plywood and just leave it in place. Expensive, but apparently his firm, which builds hospitals and the like, does this a bit. You probably will be fine with a barrier and poured concrete; just don’t skimp on the drainage, of course. We also mixed in the water sealer directly into our concrete. Not sure, but Clay Mauritson might have finished building a cellar below grade recently if you want to get any tips. I would design to have some cooling unit as backup–mine hardly runs compared to most, but does tighten up the temp range and makes the moisture more predictable. That is a consideration, though, in increasing your size, as I found a big leap in cost of cooling units as your cubic feet increased. If you just want to use shelving and OWCs, let me know–I have quite a few and can get more pretty easily. The tasting room is going to be dope! Can’t wait to see it–maybe I can stop by and see the work in progress next weekend?
Good thing is that the spot is always shaded from direct sunlight so I’m not expecting a need for refrigeration. I will have a two year old Cellar Pro from my current storage but it’s not made for a space that large. Insulate, insulate, insulate!
Dude, in 2 days you went from looking for advice to having a massive hole in the ground. I don’t change my furnace filter that fast. Cheers to your “go get em”
I’ve been staring at my steep hillside for about 10 years. I now have a tractor with a bucket. I have hole envy.
I hired a similar project, garage dug into a hillside underground on 3 sides, in a previous life. I can only repeat what others have said, poured walls are best structurally, overengineered as needed, concrete pours are cheap, and good downhill water diversion with goop on the wet side of the walls, drain rocks, and drain tiles pointing the water somewhere else. All relatively cheap to do correctly the first time around.
So what plan for the final dimensions? I know racking is still a bit farther off, but let me know if you want to go the OWC route. You can make requests and I will see if I can source them. Downside to OWC is that there’s NO standardization. I’ve got 1x6 layouts in different sizes, 2x3s, full case, 3-bottle… I’m sure you also have connections.
If you go with racks, I found the IKEA IVAR system to be the least expensive per bottle and sturdy enough for my purposes. They can even hold magnums, although I wouldn’t load them up too much. More than big enough for burgundy and other wide bottles. Might not be the most space efficient, though. Whatever you get has to be secured, something you will have to think about with the concrete walls, but mine are very solid with the angle pieces I used to secure them. If you go the IKEA route, I can also pick them up in Emeryville if I am heading up your way, just order them and save the shipping. Tip: Use a shelf top and bottom to make them stiffer laterally. It’s also nice to have a spot to stand things up, and to put a couple OWCs for odd sized bottles or just because it looks cool.
Are you going to wire in a light or just take in a lantern like I do? I opted to have no wiring inside the unit–my cooler has the plug-on-the-back option. Easier to keep it watertight.
Another tip: Plan to have something on the floor to prevent breaking bottles when you inevitable drop one of your precious wines. I just have some rubber mats, you don’t want anything that can get moldy.
For my door, I just bought the smallest, cheapest commercial exterior insulated door, then popped it into place. Been meaning to decorate it, but the family artist has been doing other things and wants me to figure out what kind of paint she should use.
Brian probably doesn’t need me to tell him any of this, but it can’t hurt if anyone decides to build their own budget wine cellar, like I did.
Talking with some wine industry workers in Napa Valley today about my project and I have a new direction.
Gunnite
It’s what use on swimming pools and all the wine caves in the valley. Cheaper than concrete, no forms to build and remove, build a frame with rebar and chicken wire, tie it into the hillside, spray it in. If it ever cracks it can be repaired unlike concrete.
Hmm… really interesting…! Makes sense for wine caves since you’d be looking at pre-cast concrete more than cast in place given the form/shape of most caves. Your application does seem quite a bit different however. I did find this though: Cast-In-Place Concrete vs. Shotcrete: The CIP Advantage | WATERPROOF! Magazine
Personally I’d feel more confident with the tried and true cast in place concrete.
It’s an interesting idea. When there isn’t space behind the dig to put in forms, it also makes a lot of sense. My birth family has owned gunite pools a few times, but they were always present when we bought the house, so we didn’t build them. The application of gunite sounds like a pretty high skill job. I have vast confidence in your abilities, but it would be new to you, so maybe hire out that part of it?
I am also wondering how you build the drainage around it since there’s no form board on the back? Seems like you spray it right up to the soil.
Definitely some downsides to concrete, too. I will be interested to see how what you decide.
Talking to guys about shotcrete and they say it’s way too expensive. Spoke with a guy who has done them before and he said the way to go is with a precast half culvert. Pour your footings and the slab inside them then set the culvert on top. They are engineered to be buried. Can be waterproofed before install too. Giving it some thought.
When all is said and done, Brian is going to say “if I could do it over again, I might do this differently or I might do that differently” and of course there will be a whole round of “had I known…”. But when the dust settles and the bottles are finally placed into their new home, pretty much every visitor is going to say the same things, " Holy sh|t, this is awesome!" or “I can’t believe you had the stones to build this!” or “Dude, you are the effin man!” or “Wait, explain this to me again how you started digging before knowing how you were going to build this temple of awesomeness…”
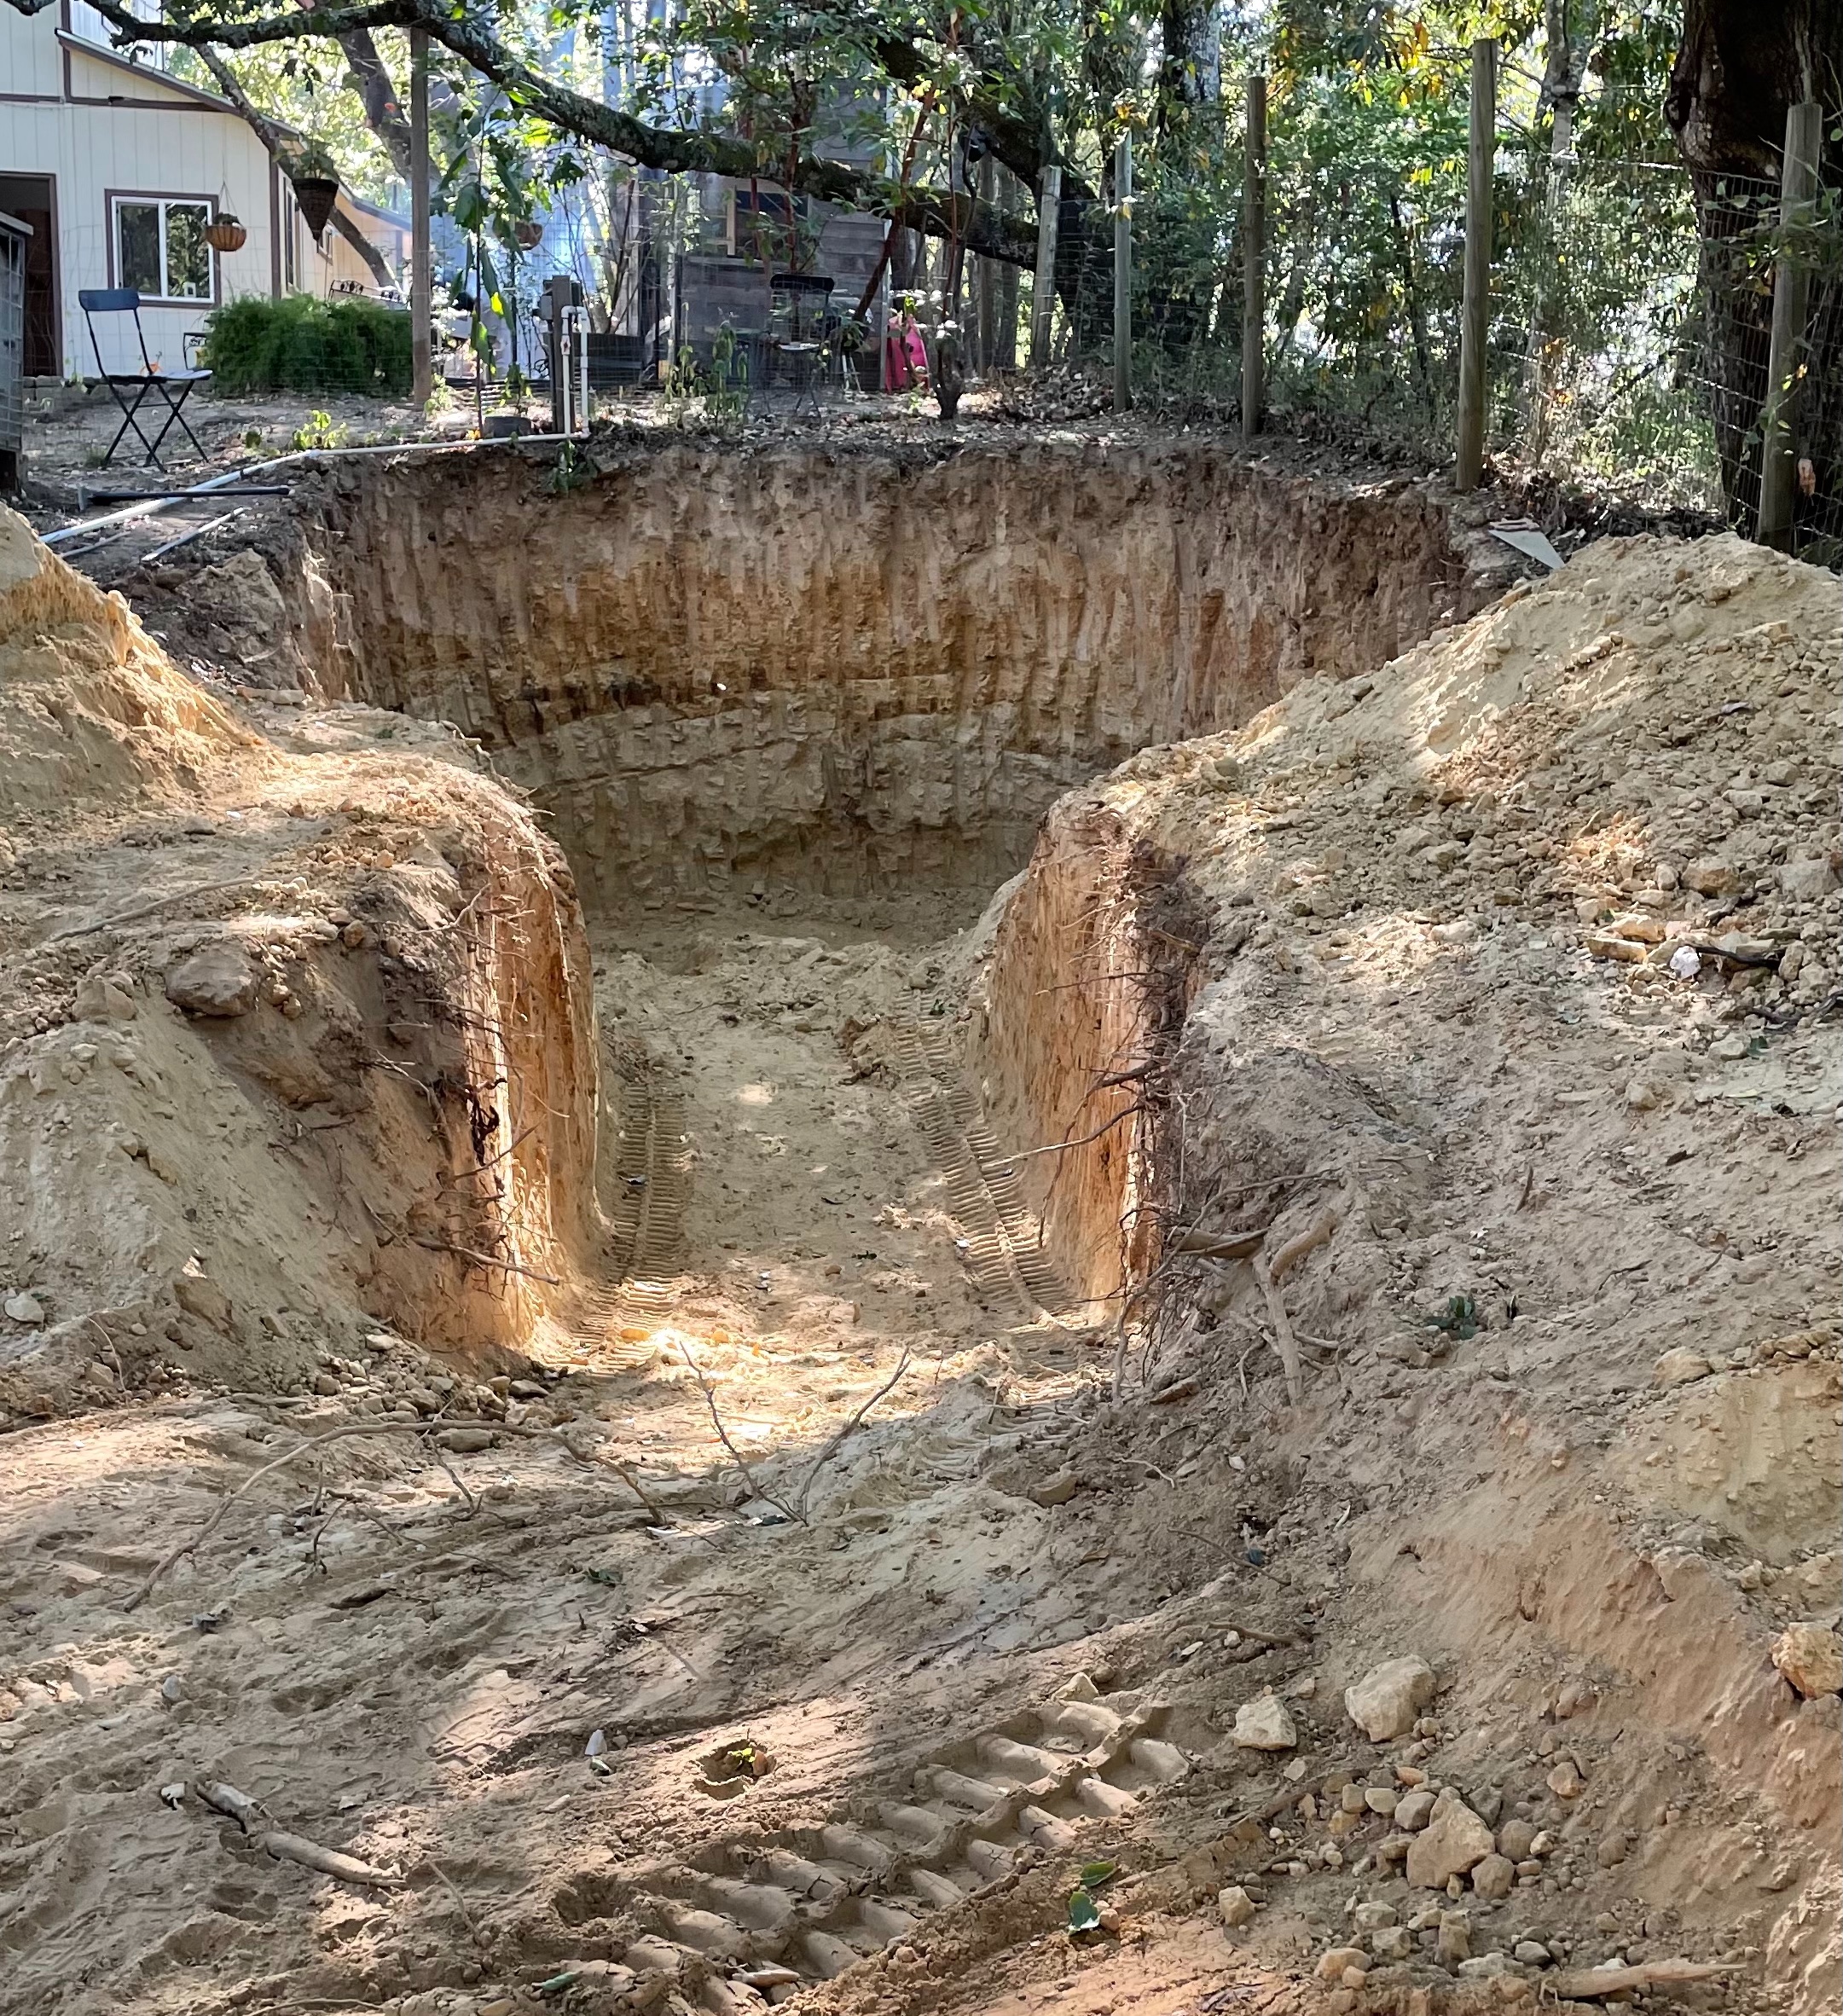
One thing I knew from the outset. I needed a hole in the ground. That’s going to turn out to be the easiest part of the job. I had a dream last night that I struck something in the bottom of the pit and it filled with water. Woke up very anxious this morning.
Right, if you build it a little smaller, you fill in and have more drainage.
Latest pics look a little like you’re going to have a door and maybe a passage way, or is that just an artifact from digging?
How will you get the half culvert in? Wouldn’t that also involve a crane or other large equipment to get it placed?