I don’t think this is worth the money at all. You can do this for almost $0 yourself. I bought a few resistors from Radio Shack and experimented with some power supplies I had from old electronic stuff I don’t use any more. It only took me a day or so to hack up a setup that works with my Kenmore A/C unit. I set the unit to 72 and my cellar stays at 56 degrees.
Awesome project
Depending on the size of the AC and how comfortable you feel with soldering on something that will be inside your house you could always use a line voltage thermostat and just leave the AC on run, you’d have to pick your AC with manual controls or some sort of memory if digital for it to work.
I’m not endorsing this one specifically, there are many brands available both 120 and 240 volt.
Best,
Chris
Wouldn’t you still need to bypass the A/C’s temp sensor, which will shut it off ~60? I had thought about the line thermostat as well, but the results others have had with resistors and power bricks tempts me to go that way first. I think I’ll start with some old cell phone adapters, but if I can’t get it working, Radio Shack sells a multi-voltage DC converter, so I could take a resistor and simply dial up (or down) the voltage until I get it right.
I did exchange emails with the guy who designed/invented the $300 device. In looking at it and exchanging with him, his target audience is the agriculture/food community. What his device offers is a couple of things: 1) adjustability to a specific temperature. Farmers may need different temps to preserve different vegetables optimally; 2) the ability to chill down to 36℉, which of course is not necessary for wine (his device includes a heating coil to defrost the A/C if needed).
Any thoughts on the need for a smoke detector in a wine cellar? Code probably doesn’t require it (1 for each sleeping area plus one for each floor), and I already have one in the basement about 5 feet away. On the other hand, I’m trying to make the cellar somewhat airtight (I know it won’t be perfect), so it may not be reliable to have only the one outside the door. And on the third hand (always necessary for construction anyway), a wine cellar seems like a pretty unlikely place for a fire to start (limited electrical, no heat, and no easily flammable materials).
Do you have any CaliCab? They’re accelerants. ![]()
Ha! I was going to ask if you cellar 2008 Anderson Pinot. If yes, a smoke detector might be a good idea. Seriously, I do not have a smoke detector in my cellar and have not seen one in any other cellar.
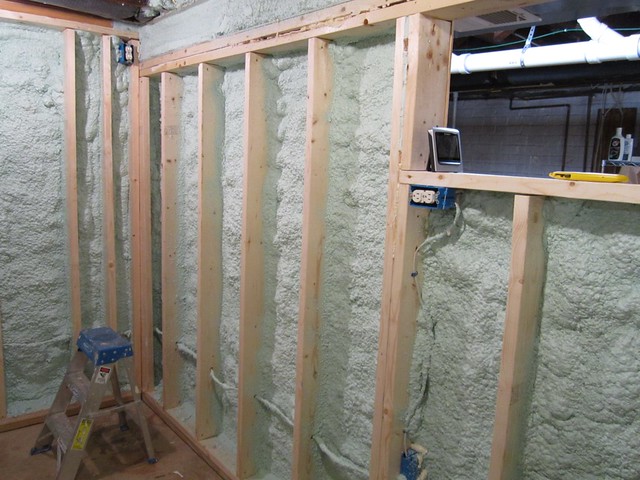
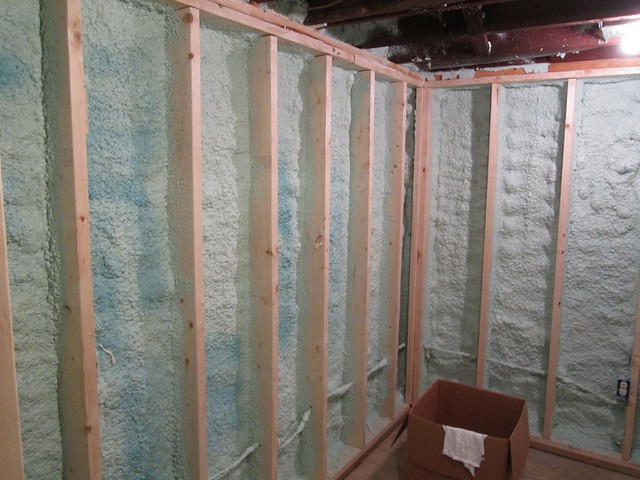
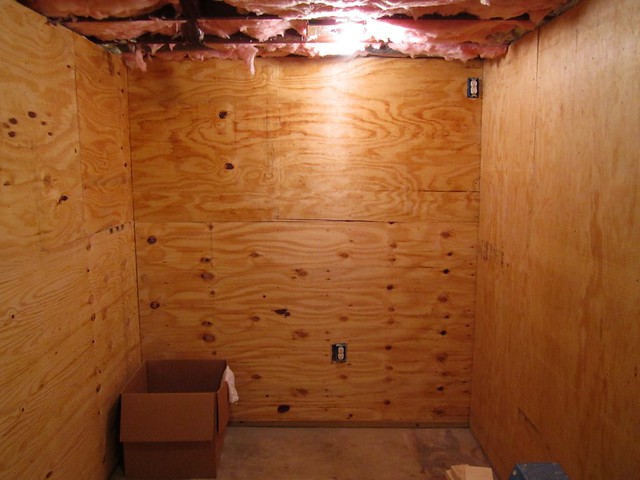
Spray foam insulation goes in:
1 Like
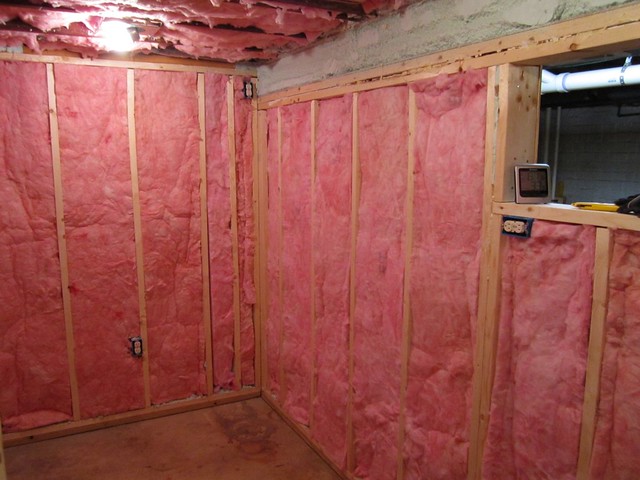
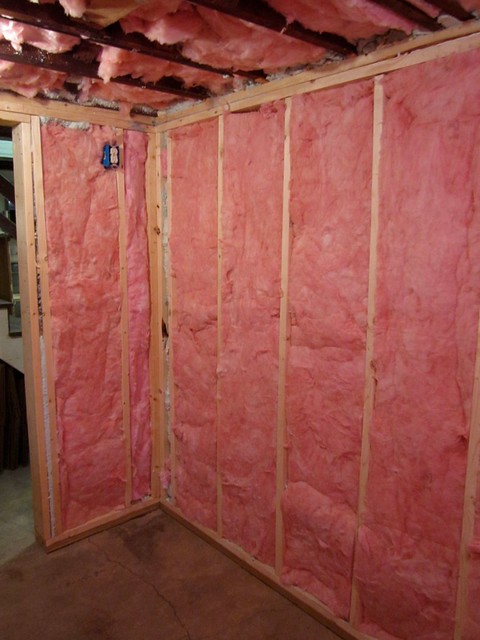
And some fiberglass for good measure:
1 Like
Somewhat disappointed with the spray foam–it didn’t come out nearly as thick as I expected given the size of the spray package (600 sq. ft.) I was spraying about 250 sq. ft of surface, but didn’t get 2 inches all around. Some places a bit more, but also some less, and overall it seemed to be a bit shy of what I’d hoped. But with the fiberglass I should have plenty of R-value (in theory about 25 in the walls, 12 for the foam and 13 for the fiberglass, although with varying thickness, studs and so forth I doubt it’s that good; ceiling has R-19 plus the foam).
And sheathing now on, with cedar to go over it.
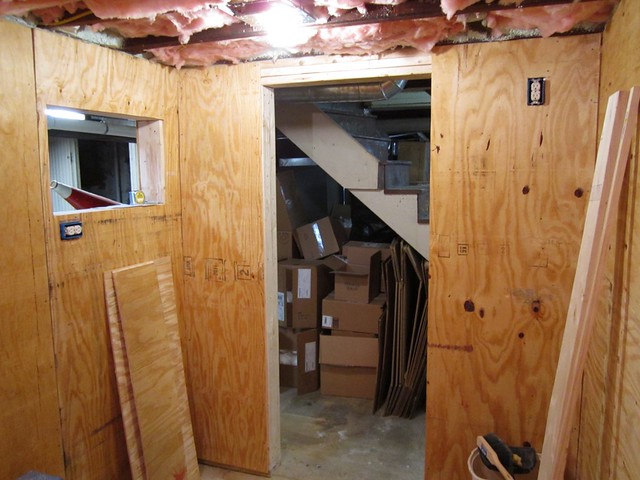
Now the real expenses begin . . .
Cedar paneling, flooring, A/C, and racking. Fortunately the door is something I already have, but the “expense” of hanging it myself won’t be small.
Just caught this thread for the 1st time and pretty cool to follow along with you on this project. Nice job so far and keep the posts coming. Can’t wait to see the finished product
Looks real good so far, I’m sure you have plenty of R with 2 inches of sprayfoam plus the fiberglass. My only concern with the coverage issues you mention with the foam would be gaps - if there are spots with no spray I think that would compromise the moisture seal. Particularly up near the joists. Also, did you spray the ceiling as well or is it just fiberglass?
I sprayed the ceiling as well. I probably got more thickness there
The gap problem was two-fold: first, corners that were hard to reach and then depth generally. There’s still a moisture retarder, but it just won’t retard as much as if I had the full two inches everywhere.
I’m not extremely worried because I have a fairly dry basement with humidity levels that are above the dewpoint at 55 degrees, so in theory I shouldn’t get condensation anyway.
Yeah, on overall R value I’m in pretty good shape. I did the BTU calcs and my biggest heat sources will be the floor and the door.
1 Like
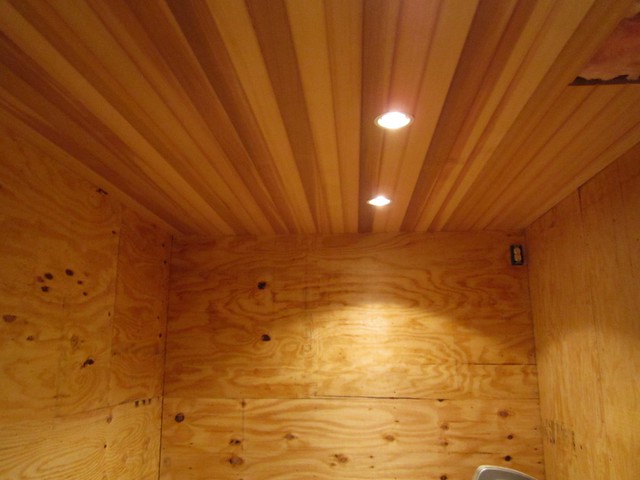
Started the cedar paneling this weekend. Got done with the ceiling. I’ll be glad to get to the walls, so I won’t be working overhead (and won’t have to spend time cutting out the holes for lights). Also put in the door frame–not shown because it’s, well, a door frame. Had to make it custom because of the thickness of the walls. That’s a project I’ll be glad not to have to do again (level, measure, level, measure, shim, level, shim, nail, relevel, shim, measure, nail, etc.). But I now feel like I’m over the hump on this project . . . still a lot left to do, but I’m on to the work I’m more comfortable with and it’s looking more real. Should be ready for summer weather . . .
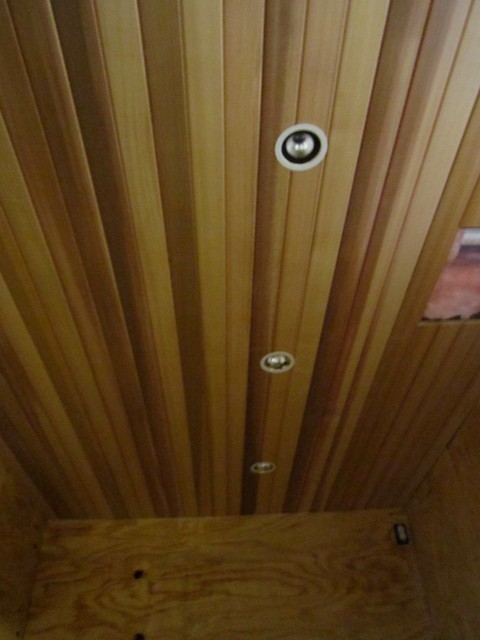
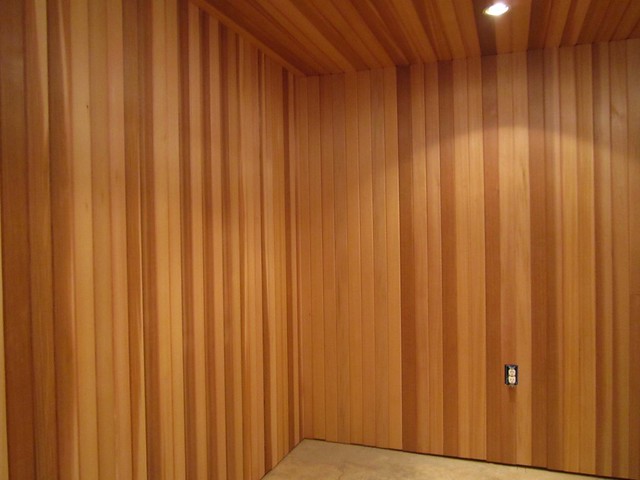
The specifics for those who care: 1x4 tongue-in-groove western red cedar (clear). You put the nails on the tongue so they don’t show (except on the end boards, which have to be face nailed). The hole where you can see insulation is to allow access to the gas shutoff for the oven in the kitchen above. I sure hope I never get a leaking pipe up there, because I’d have to rip off a lot of cedar (well, and it would cause quite a flood).
Not sure if it’s easier to see with the lights on or lights off:
The cedar looks fantastic, you should be mighty proud of that work!
It’s a beautiful wood–something of an indulgence for a cellar that I won’t be hosting dinners in (well, maybe a dinner for one), but beautiful to look at and I think well-suited to a wine cellar environment.
Me likes the cedar…a lot. Keep posting pics and updates. I find the process fascinating.
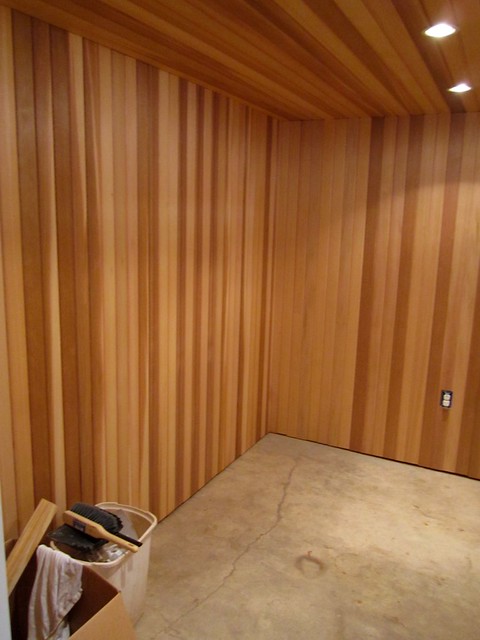
A couple of walls now done. You can get a much better sense of how it will look.
1 Like
Looking good ![]()